
The Upgrades app allows students to purchase an upgraded version of a course to unlock additional features. It routes students to a purchase page where they can select a product and add it to their cart. This feature can be used to offer additional exam credits, apps/content, or extended course access.
To configure Upgrades, first add Stripe to your active integrations. You'll need your Stripe API Publishable Key and Stripe API Secret Key. Without Stripe enabled you cannot use the upgrades feature.
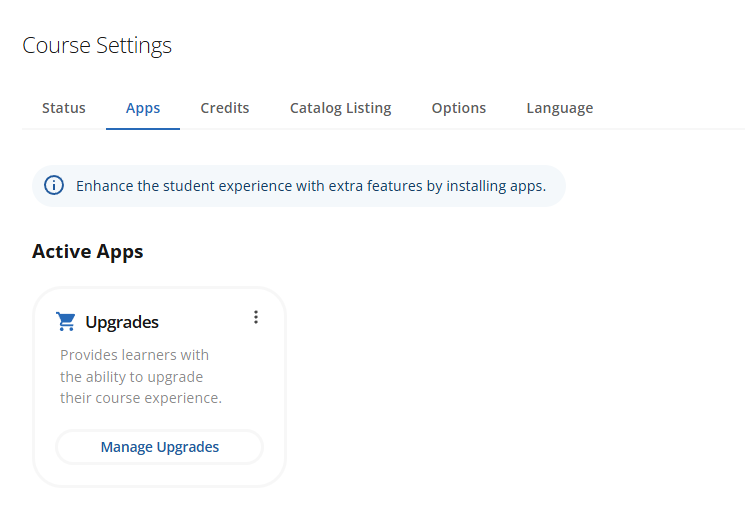
Then enable the Upgrades app in Course Settings.
Course Products
Next, select an existing product or create a new one if needed, and map it to the credit you want associated with the purchase.
If you are creating a product, ensure that all required fields are completed. Payments can be configured as either a one-time charge or a recurring subscription set to monthly or yearly. Once the product is created, the payment type cannot be changed, and a new product must be created to use a different payment type.
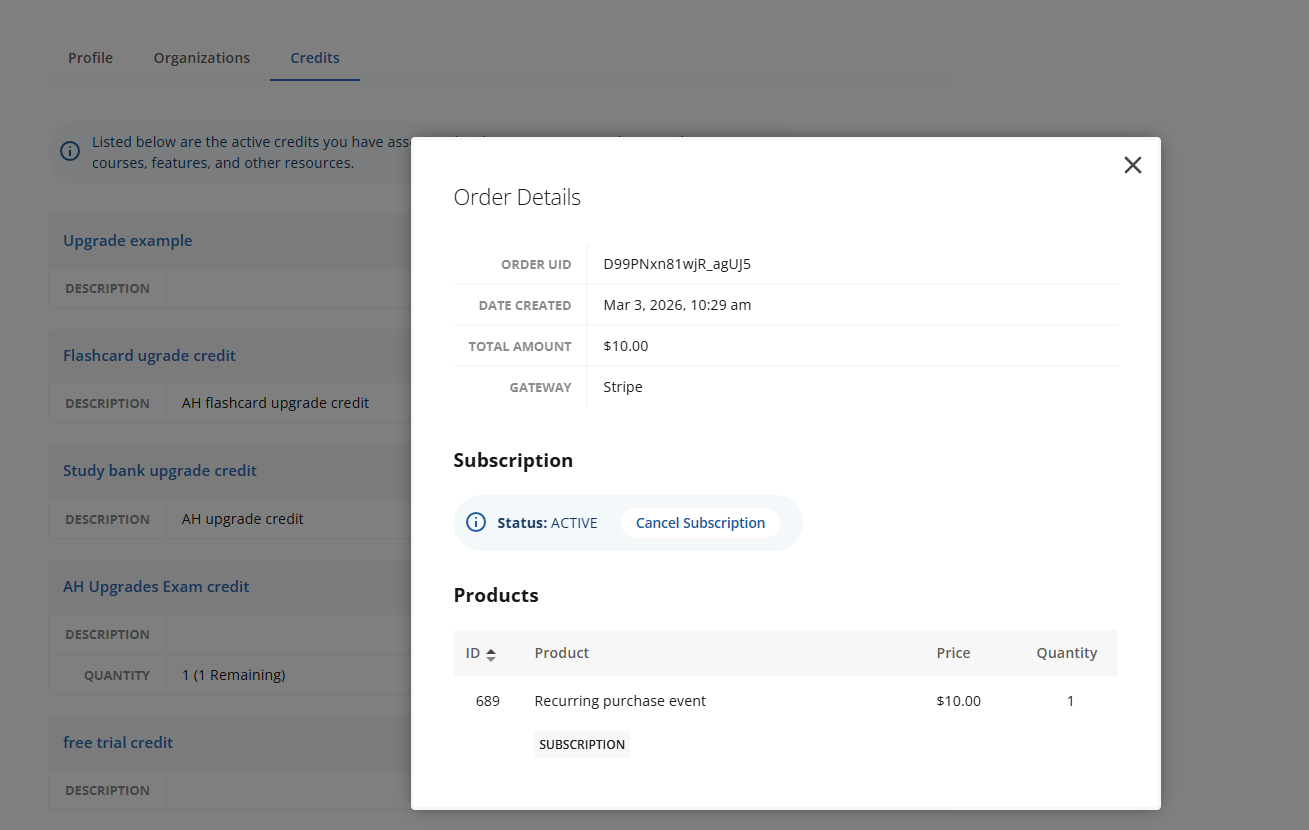
Subscriptions can be managed in a student's Profile under credits.
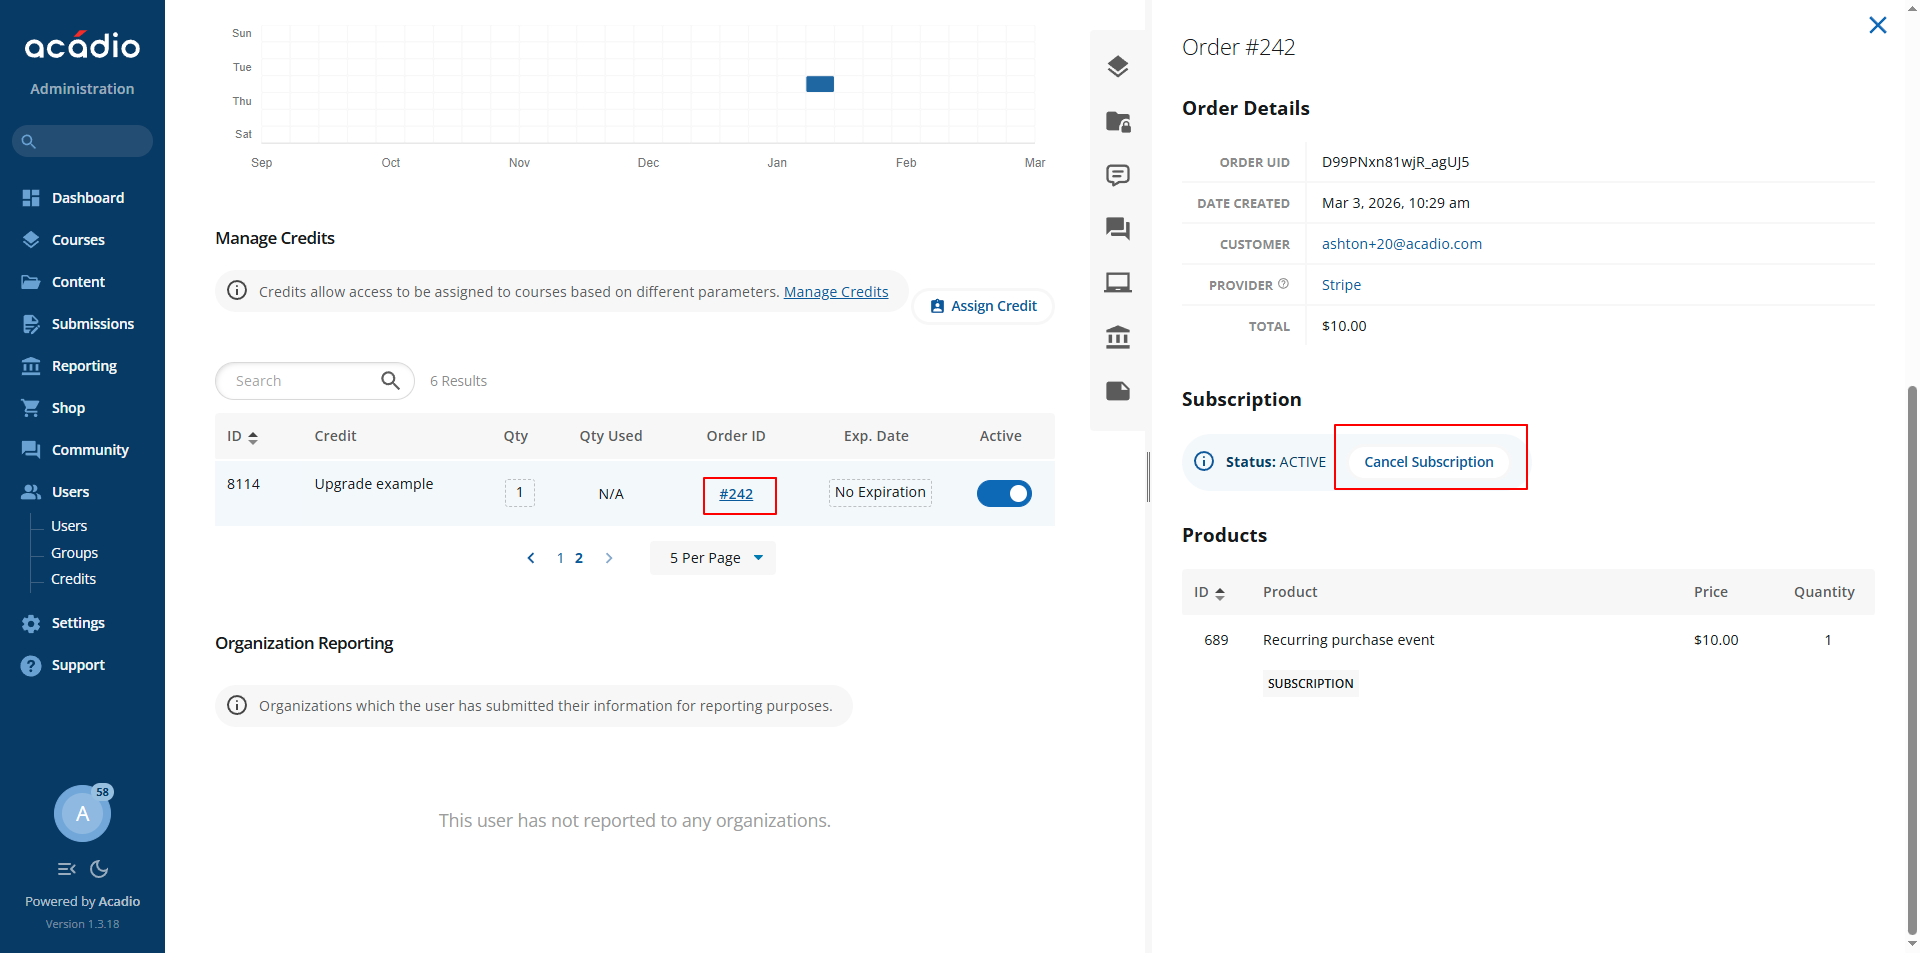
To manage a student’s subscription as an admin, go to Users and locate the appropriate user. From there, select Manage Credits, click on the Order ID, and proceed to cancel the subscription.
Next, toggle the product to Active to make it available to students. Then assign a credit and click Save. This links the upgrade to a credit, which determines what the student can access and which tools become available to them.
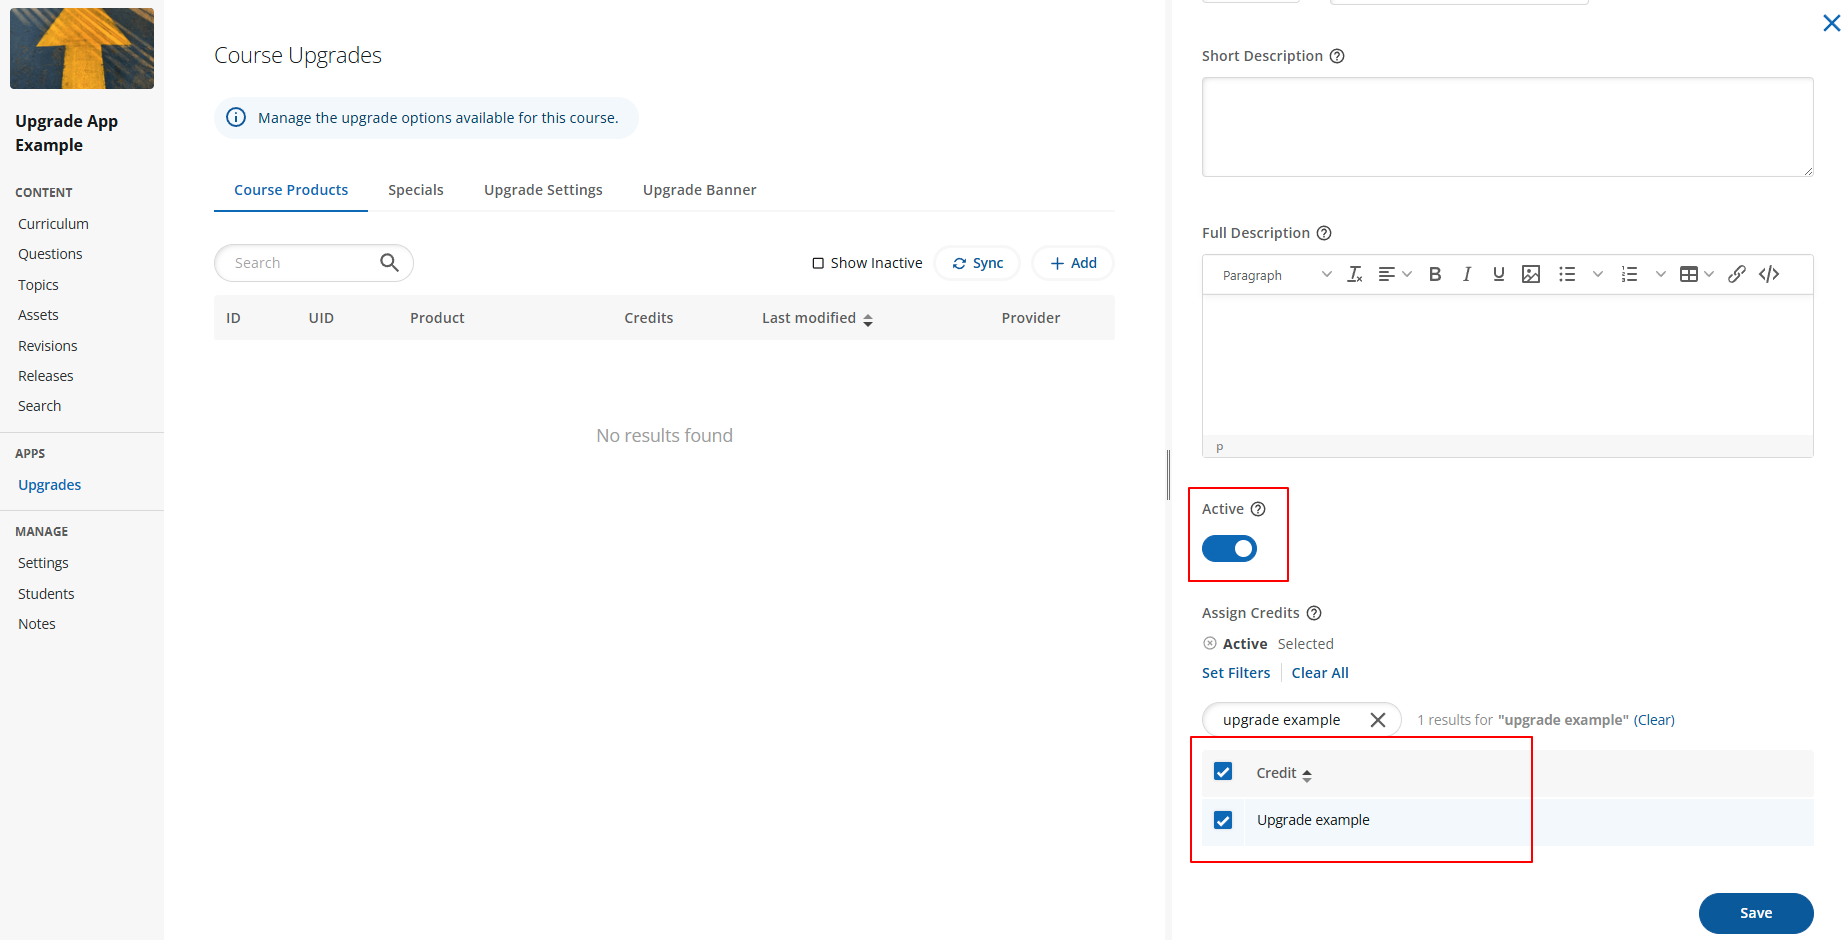
Once this is complete, the upgrade will be available for students to purchase. It is best practice to complete a test purchase in Stripe before making the upgrade available to students.
You can learn more about Stripe test purchases Here
Specials
Specials can be used to provide discounts to users through special codes or coupon codes which can be applied automatically on checkout or through user input.
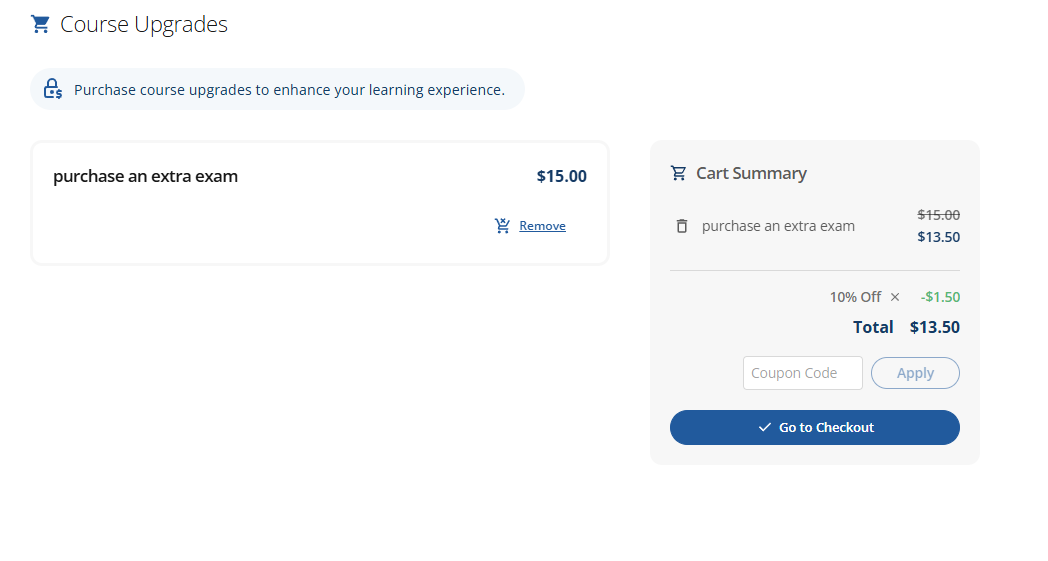
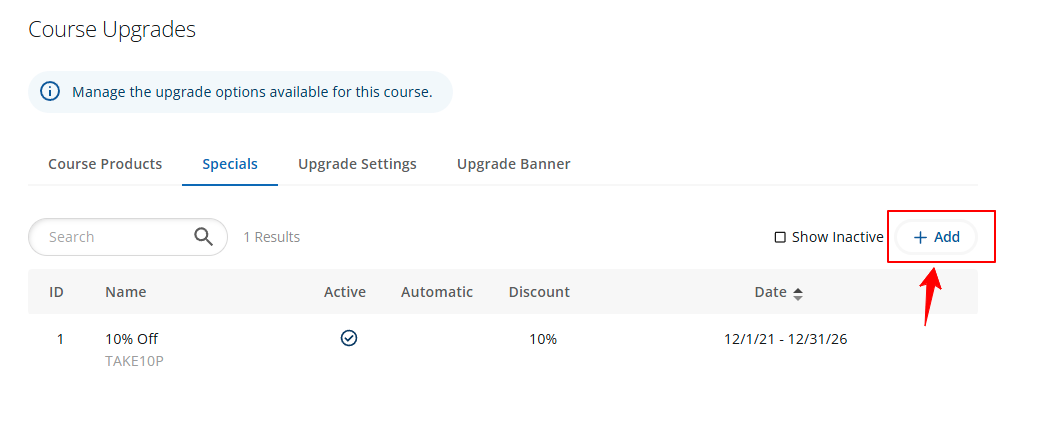
To configure a special:
Click Add.
Fill in all required fields.
Toggle the special to Active.
Click Save.
Upgrade Settings
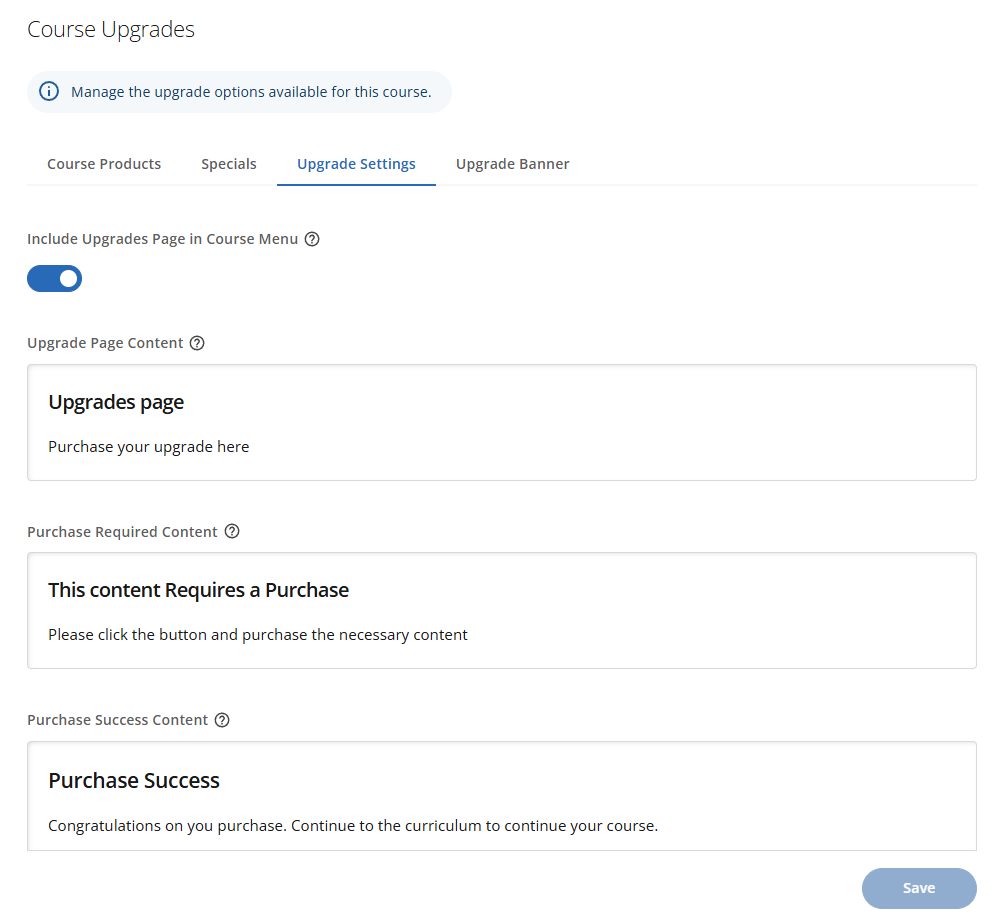
In Upgrade Settings, you can customize the look and feel of the Main, Required, and Success upgrade pages, which are highly customizable and support images, video, and custom code. This allows you to fully tailor the upgrade experience.
It is important to note that if Include Upgrade Page in Course Menu is toggled on, the student upgrade navigation will not disappear after a purchase if the upgrade is tied to a partial credit.
Upgrade Banner
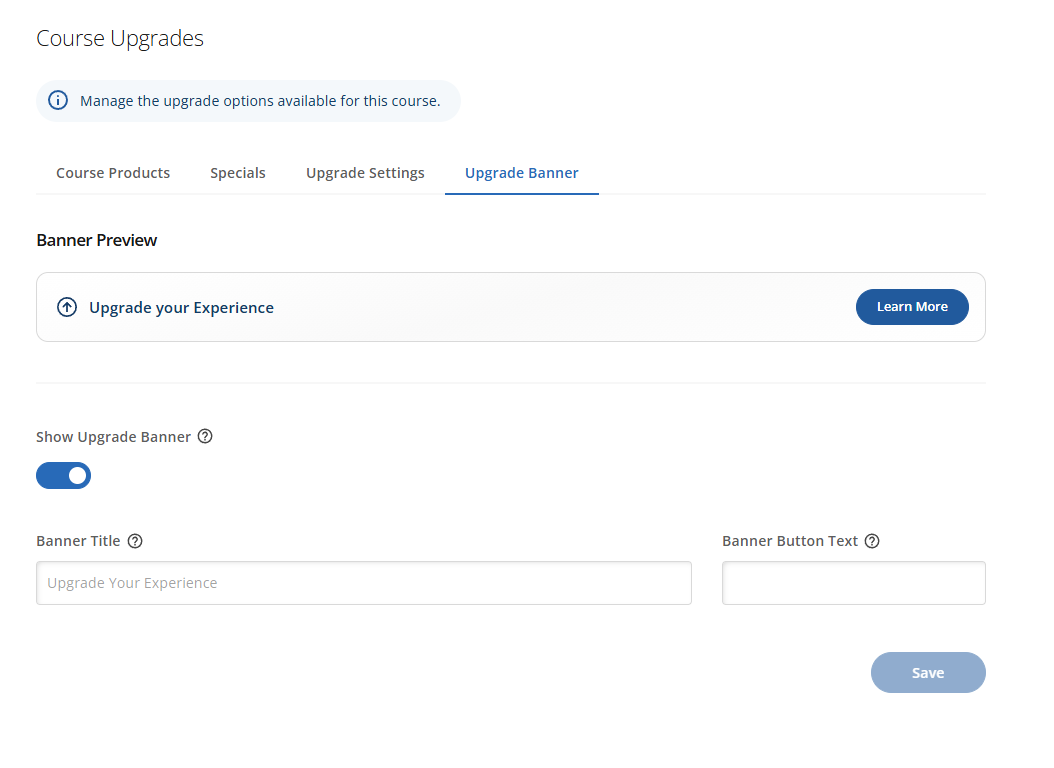
You can customize the banner messaging under Upgrade Banner in Upgrades. Enabling the Show Upgrade Banner toggle will display your custom banner at the top of the page.