

Prerequisites
To complete this process, you will need:
Admin access to your Stripe account
Access to the Stripe Developers Dashboard to create API keys. You can access your API keys on the API keys tab within Stripe.
Step‑by‑Step Instructions
To create a restricted API key in Stripe
On the API keys tab, do one of the following:
To create a new restricted key, click Create restricted key. The default value for all permissions is None.
To clone an existing key, click the overflow menu (), then select Duplicate key for the key you want to clone. The default value for each permission is the value from the cloned key.
Enter a name in the Key name field. If you cloned an existing key, the default name is the cloned key’s name.
For each resource you want the new key to access, select the appropriate permission: None, Read, or Write. If you use Connect, you can also select the permission to allow for this key when accessing connected accounts.
Click Create key.
In the dialog, enter the verification code that Stripe sends to you by email or text message. If the dialog doesn’t continue automatically, click Continue.
Click the key value to copy it.
Save the key value. You can’t retrieve it later.
In the Add a note field, enter the location where you saved the key, then click Done.
NOTE: You can only reveal a live mode secret or restricted API key one time. If you lose it, you can’t retrieve it from the Stripe Dashboard. In that case, rotate or delete it, and then create a new one.
To create a secret API key in Stripe
Log into Stripe Admin
On the API keys tab, click Create secret key.
In the dialog, enter the verification code that Stripe sends to you by email or text message. If the dialog doesn’t continue automatically, click Continue.
Enter a name in the Key name field, then click Create.
Click the key value to copy it.
Save the key value. You can’t retrieve it later.
In the Add a note field, enter the location where you saved the key, then click Done.
Copy & Secure Your Credentials
You’ll need to save your API Publishable Key and the SPI Secret Key. Copy both values and store them somewhere safe (e.g., a password manager).
Important: Treat these like passwords—anyone with these can access your store’s data.
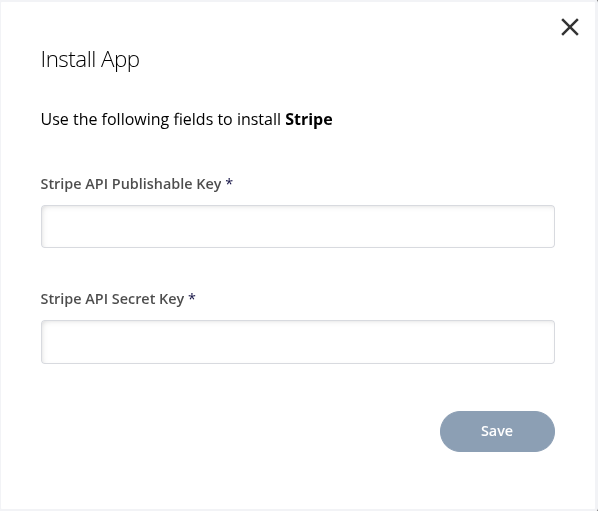
In Acadio, select Settings from the main menu. Then, select Integrations. Locate the Stripe app and click the Install button.
You'll be prompted to enter your:
Stripe API Publishable Key
Stripe API Secret Key
When finished, click Save.
Acadio will fetch your products, orders, and customers. After connecting Stripe to Acadio, it can take a few minutes for orders to appear.
Verification
Navigate to Shop from the main menu and select the Products tab.
Confirm that your Stripe products appear.
Next, place a test order and check to see if it comes through to Acadio.
That’s it, Stripe upgrades is now connected to Acadio!
Using Stripe in Acadio
Stripe is not a fully integrated eCommerce solution within the Acadio platform and is only used through the Upgrades app. This allows you to connect Stripe to a course so students can purchase upgrades or additional products within Acadio.
NOTE: This isn't a complete storefront. It handles Stripe purchases originated through Acadio only.